Heavy wake-up call is the second mission of the main plot of STALKER 2.
How to deactivate anomalies?
The quest A Tough Awakening will begin right after the game’s prologue and title screen.
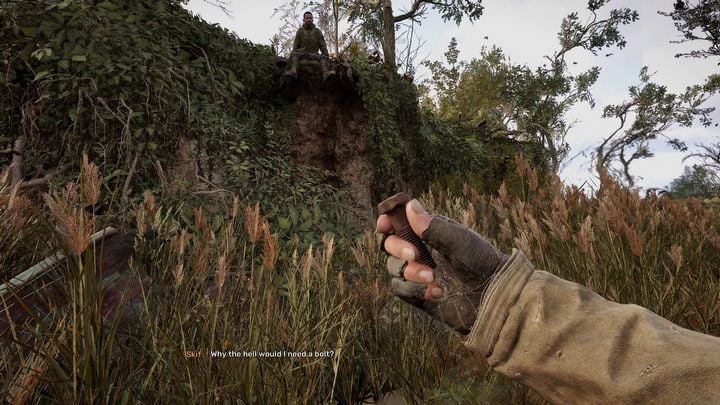
you’re able to select it from the weapon selection wheel.
Metal bolts are used to detect and neutralize anomalies.
He will direct you to the nearby stalker settlement:Zalissya.
Before you head to the safe haven,wander around the surrounding buildings and stock up on supplies.
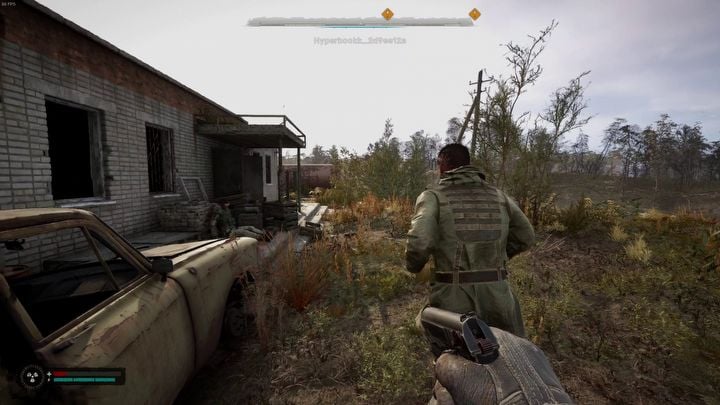
The attackers from the prologue stripped you of all your equipment except for a pistol.
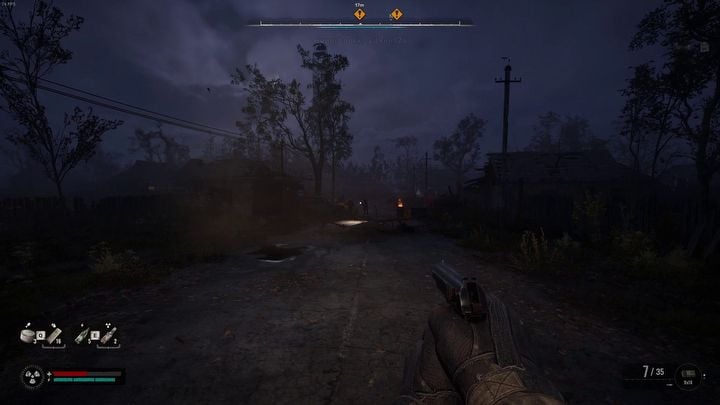
it’s possible for you to now head north-east towards the village.

The loot from their bodies will provide you with basic weapons.
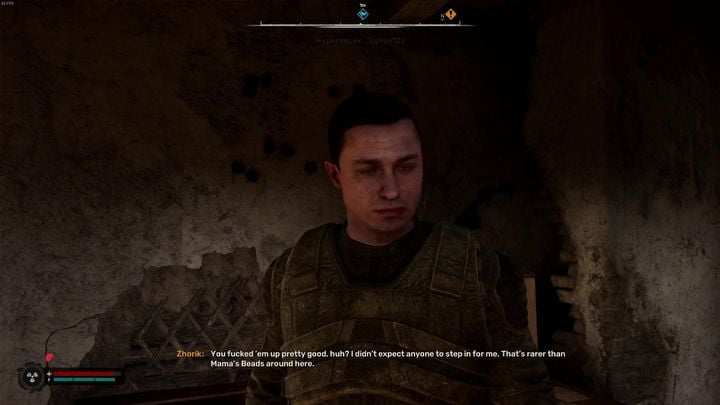
you’re able to also talk to the man in the building.
He will thank you for your help and offer an optional side task.

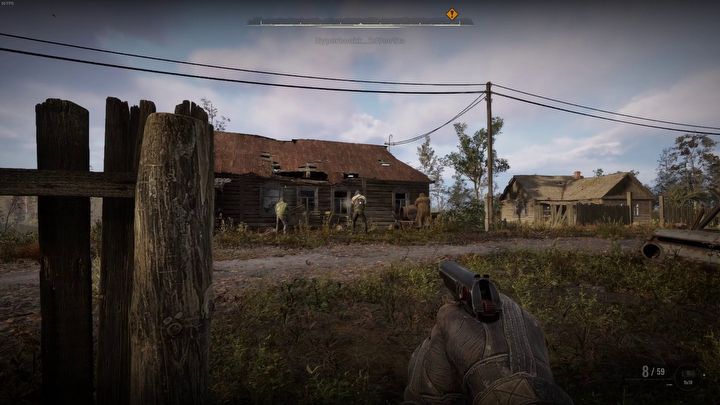
We recommend you to stick to the main road.
The probability of encountering dangers there is somewhat lower.
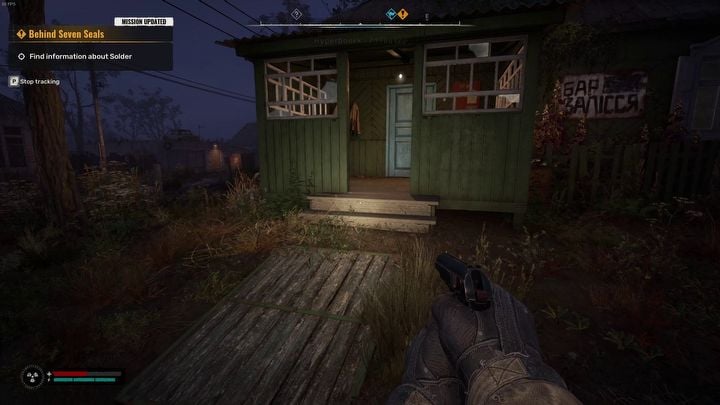
Go to the bar(the green building in the central part of the settlement).
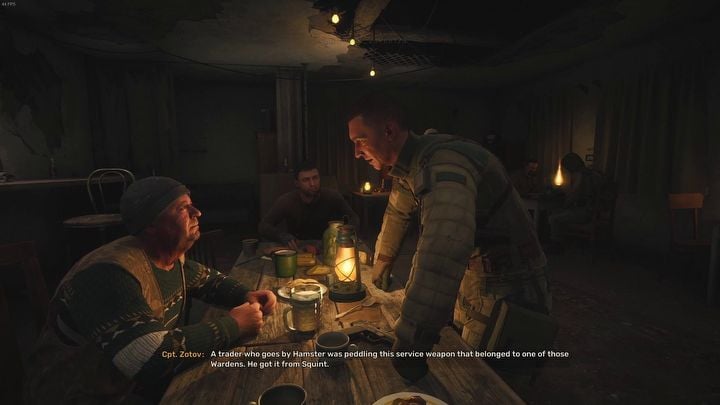
There, you will witnessa tense conversation between Gaffer and Cpt.
Once the discussion is over, the quest will come to an end.
This site is not associated with and/or endorsed by the GSC Game World or GSC Game World.
All logos and images are copyrighted by their respective owners.