guides
Last update:02 December 2024
In the missionThe Price Goes Up, Skif continues his search for Nestor.
How to get to Diode?
After completing the missionAnswers Come at a Price, you will automatically startThe Price Goes Up.
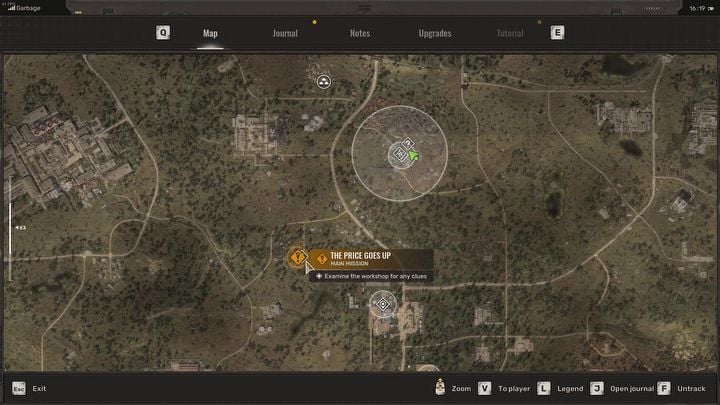
The marker will direct you toSlug Heap - a small settlement in the central part of the region.
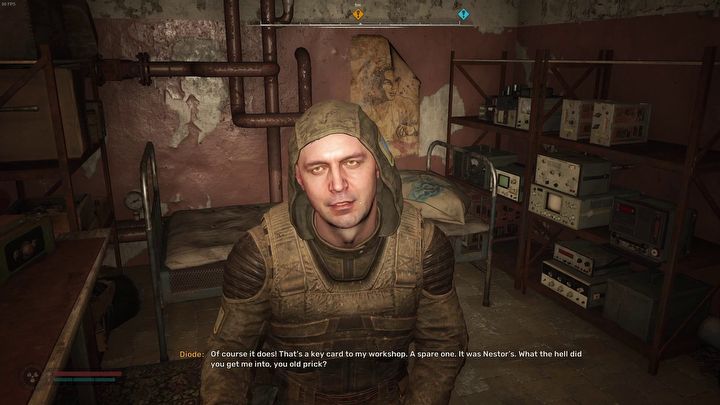
Diode’s room is marked withred paint and a key symbol.
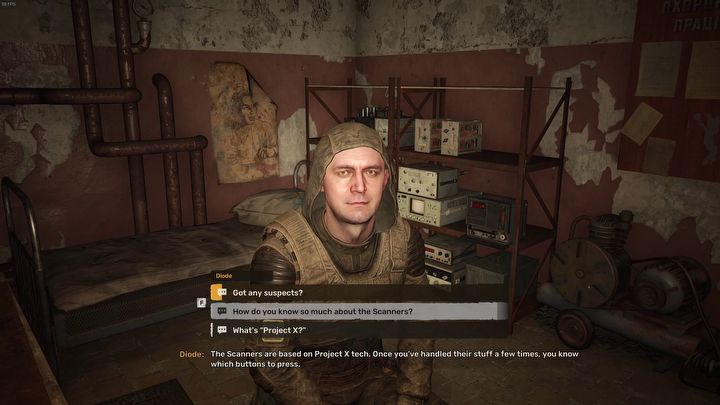
Talk to the technician.
How to find Diode’s card?
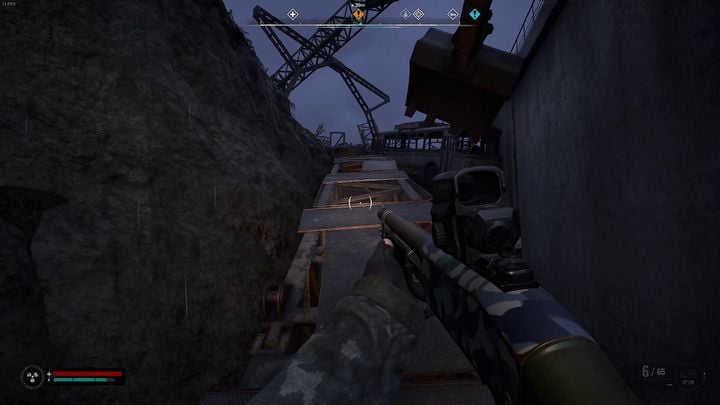
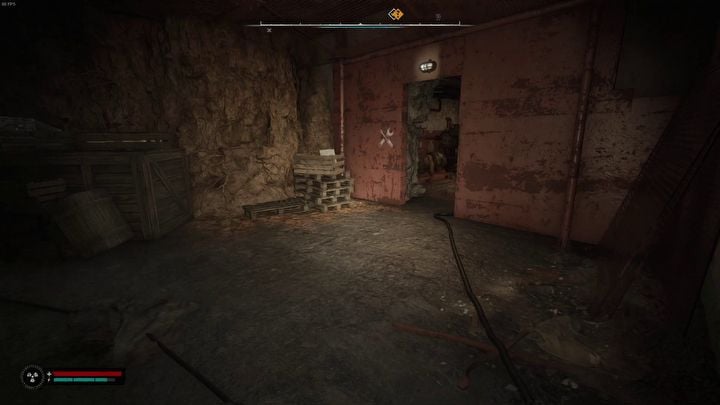
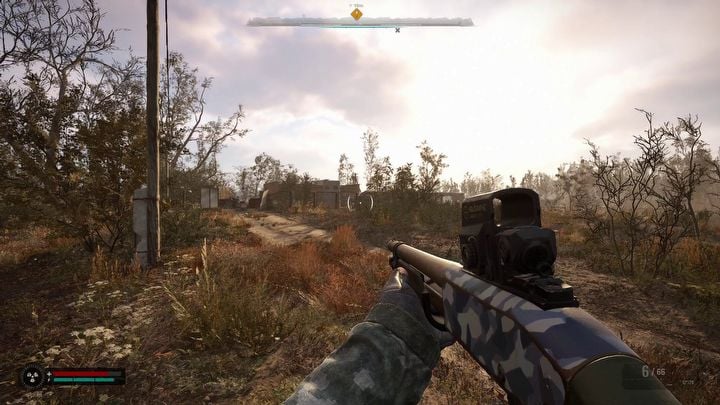
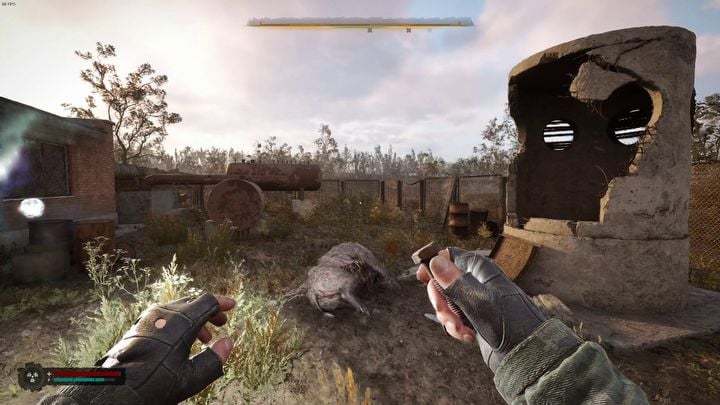
Diode’s workshop is located southwest of Slug Heap.
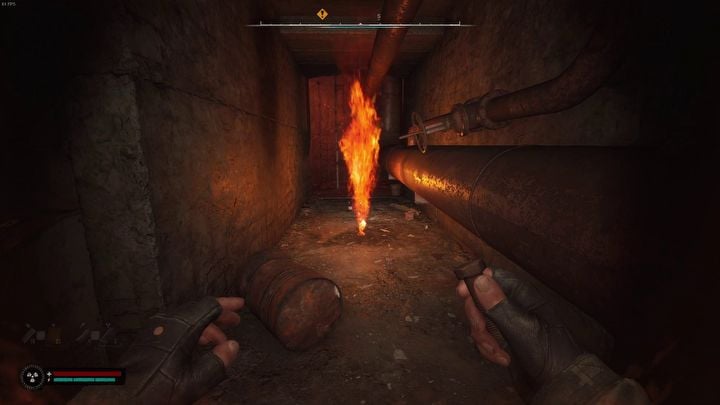
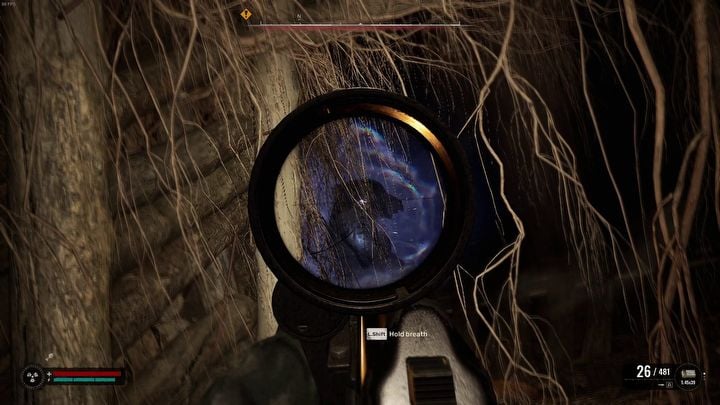
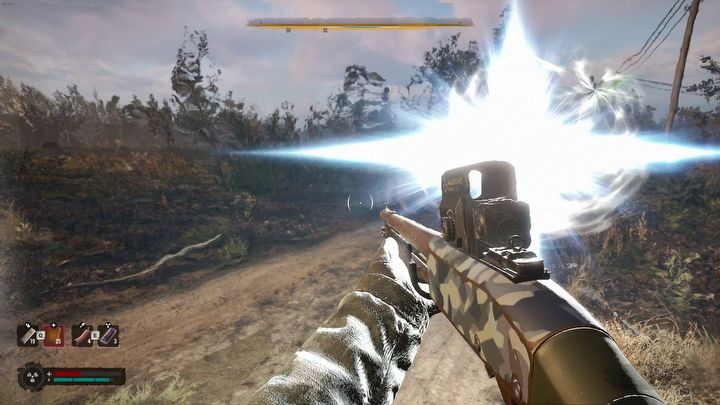
As you approach the building, maintain extra vigilance.There is a very dangerous anomaly in the area.
Exploding anomalies will keep appearing until Skif either dies or leaves the dangerous area.
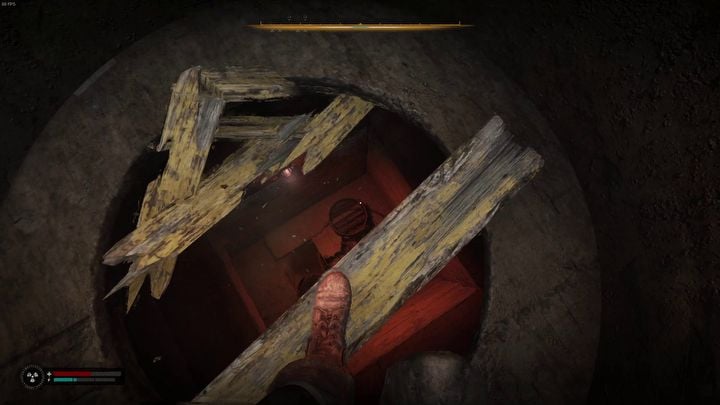
Jump there and thendestroy the boards under your feet.
The exploding anomaly will not haunt you in the underground, but others will appear in its place.
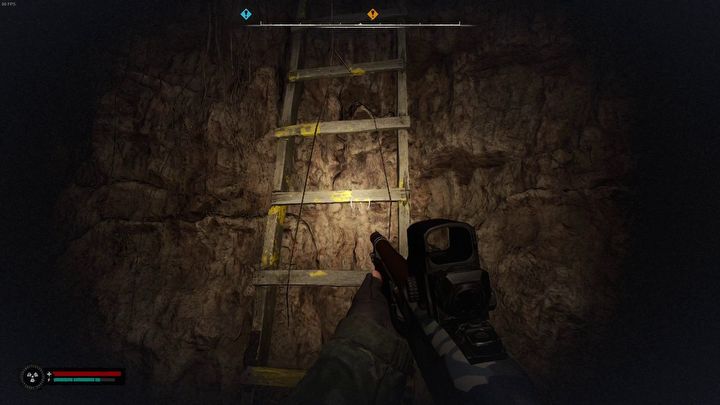
After finding the card, head tothe opposite side of the room where you will find a ladder.
Use the found card to launch the door and exit the building.
How to find Nestor’s stash?
After the conversation, he will send you on a mission to searchNestor’s nearby stash.
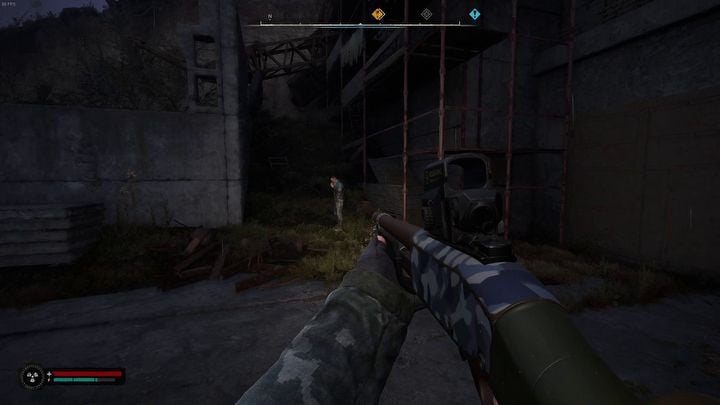
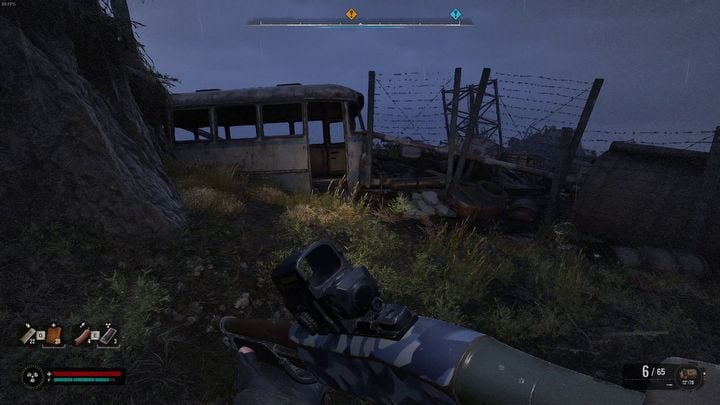
Exit the Slug Heap building and head tothe scaffolding(to the left of the main entrance).
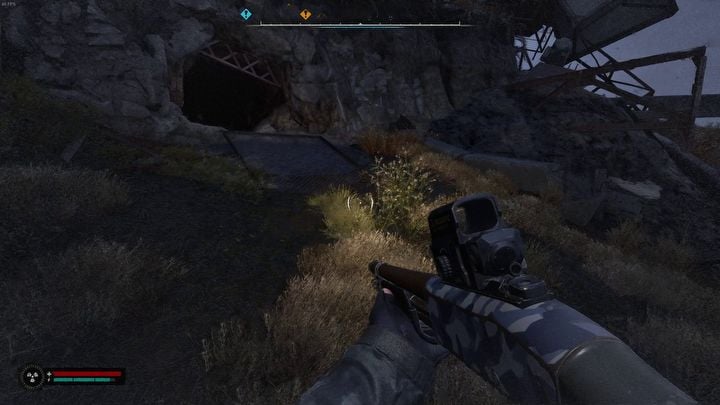
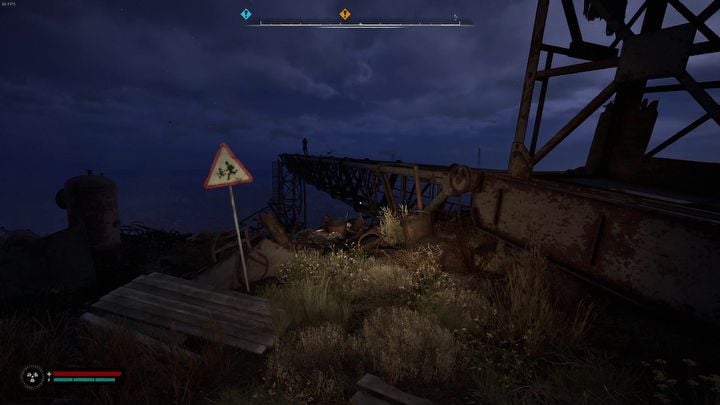
Climb the laddersto the very top, then cross the metal crane to the path above.
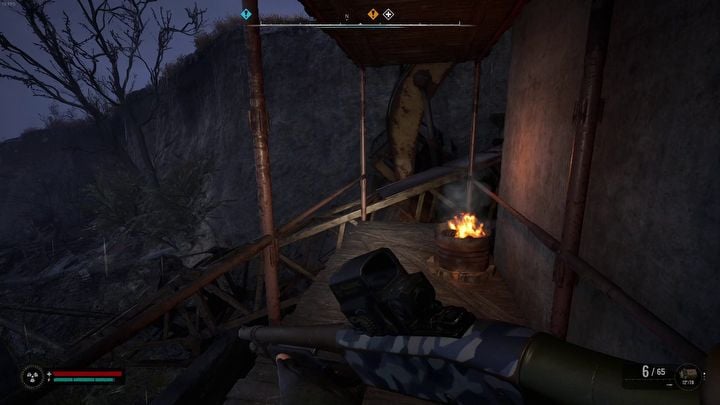
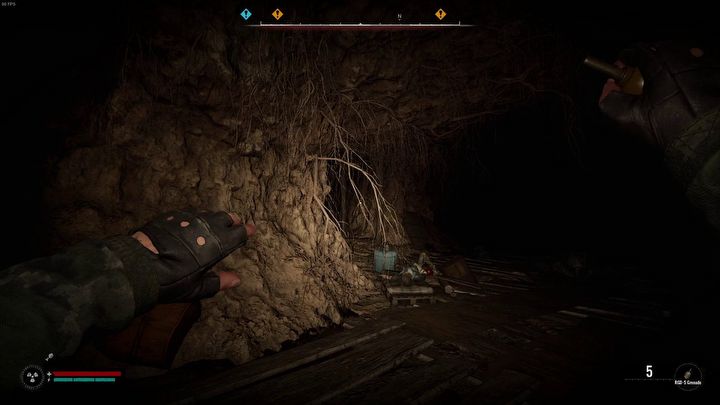
In the cave, move aroundby crouching.
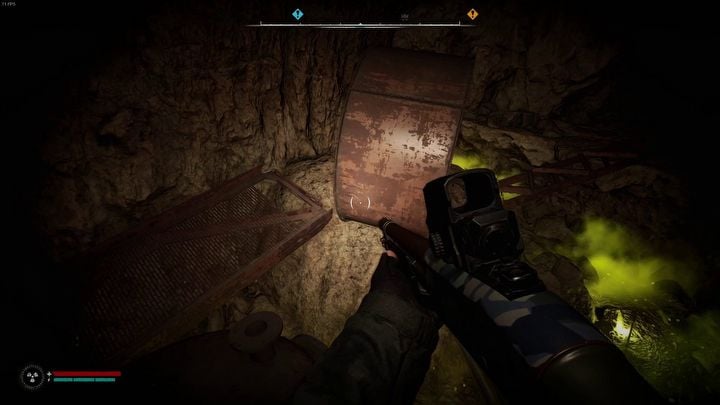
Carefully pass by the poisonous anomalies.
Next, jump onto theprotruding rock shelves,metal elementsandclimb up the ladder.
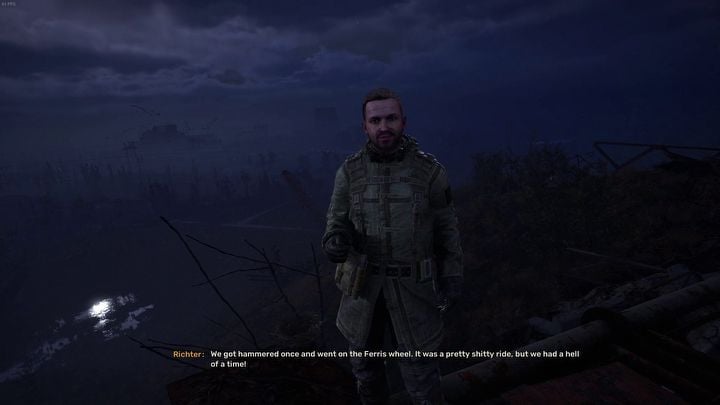
At the top,you will meet Richter admiring the view.
After a short cut-scene, the mission marker will be updated.
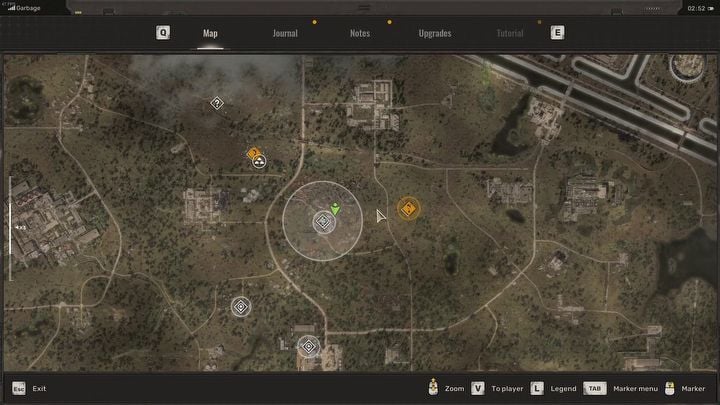
Go to the maze or to the Dig Site?
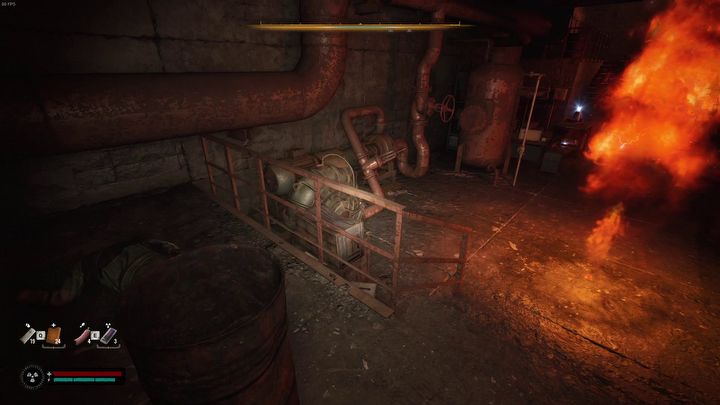
How to fight Burers?
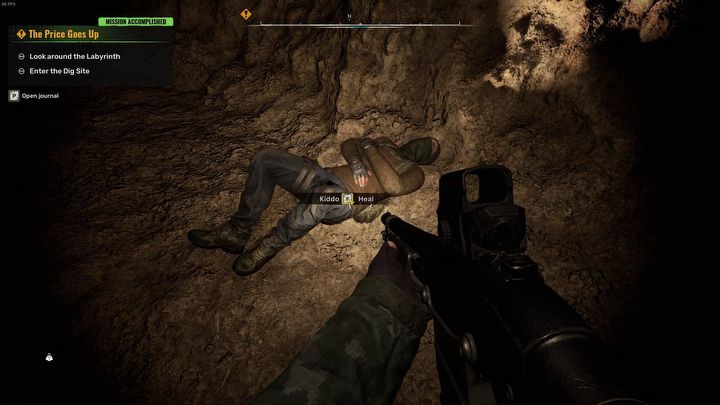
Once you reach the Dig Site,enter the tunneland prepare to fight the Burers.
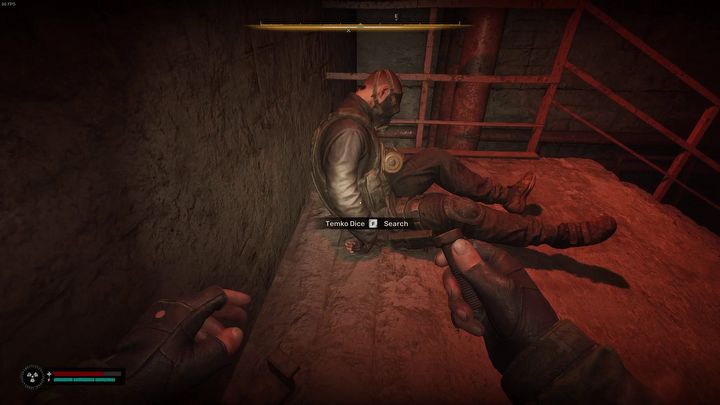
When you manage to defeat the resilient mutants,search the cave.
You will find a wounded, young stalker there.Help him.
After a short conversation,the The Price Goes Up mission will end.
This site is not associated with and/or endorsed by the GSC Game World or GSC Game World.
All logos and images are copyrighted by their respective owners.